
Conquer System
Installation Guide
One clear process from your first water test to the final protective coat. Follow the 7 steps in order and use your slab porosity to choose the correct preparation and dilution.

BallistiX Advanced
The bond layer that creates the foundation of the system.

Black Label
The protective shield that provides gloss, appearance and resistance.
Seven steps. One sequence.
First determine your path, then continue through the same installation sequence using the preparation and dilution that belongs to your floor.
Understand
Watch the installation overview before beginning.
Water Test
See how quickly your slab absorbs water.
Choose Path
Select Clean & Seal, Hone & Seal or Grind & Seal.
Prepare
Prepare the slab according to the path you selected.
Dilute
Use the correct Advanced dilution for your slab.
Apply Advanced
Create the bond using the pump sprayer and microfiber mop.
Apply Black Label
Finish the system with the protective shield.
Watch the system before you start.
Start with the complete Conquer System overview. The most important idea is simple: your concrete determines the preparation and dilution. Once that is established, the rest of the process follows the same sequence.
Find out how porous your concrete is.
Lightly spritz water onto your clean concrete and watch how quickly it absorbs. The faster the water disappears, the more open and porous your slab is.
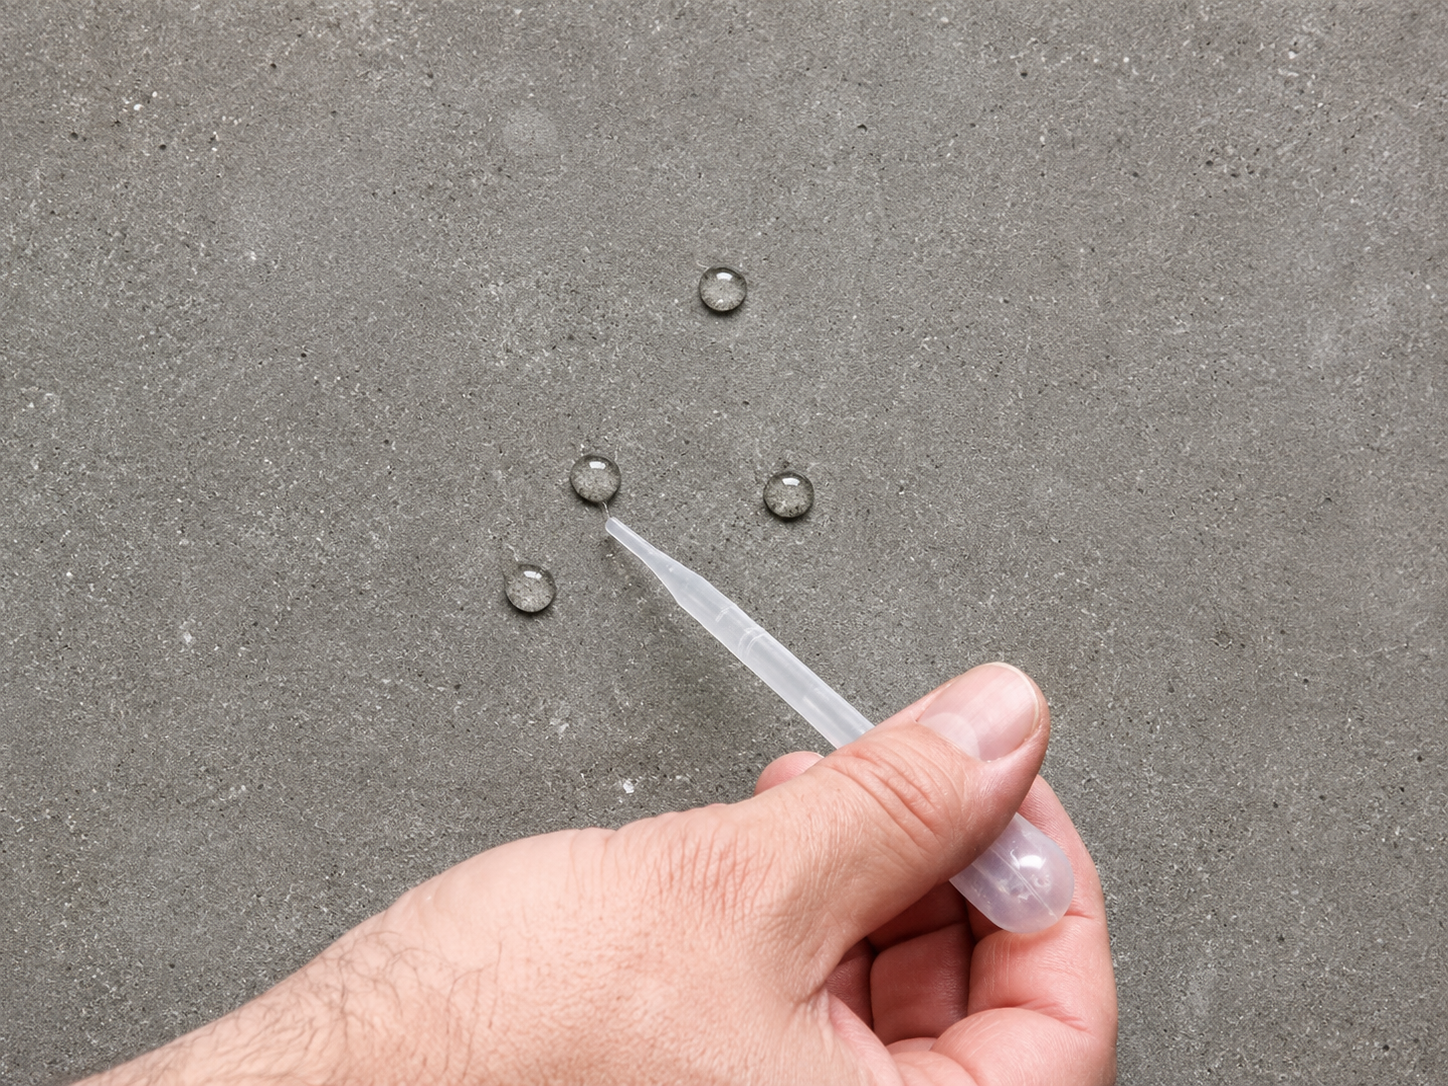
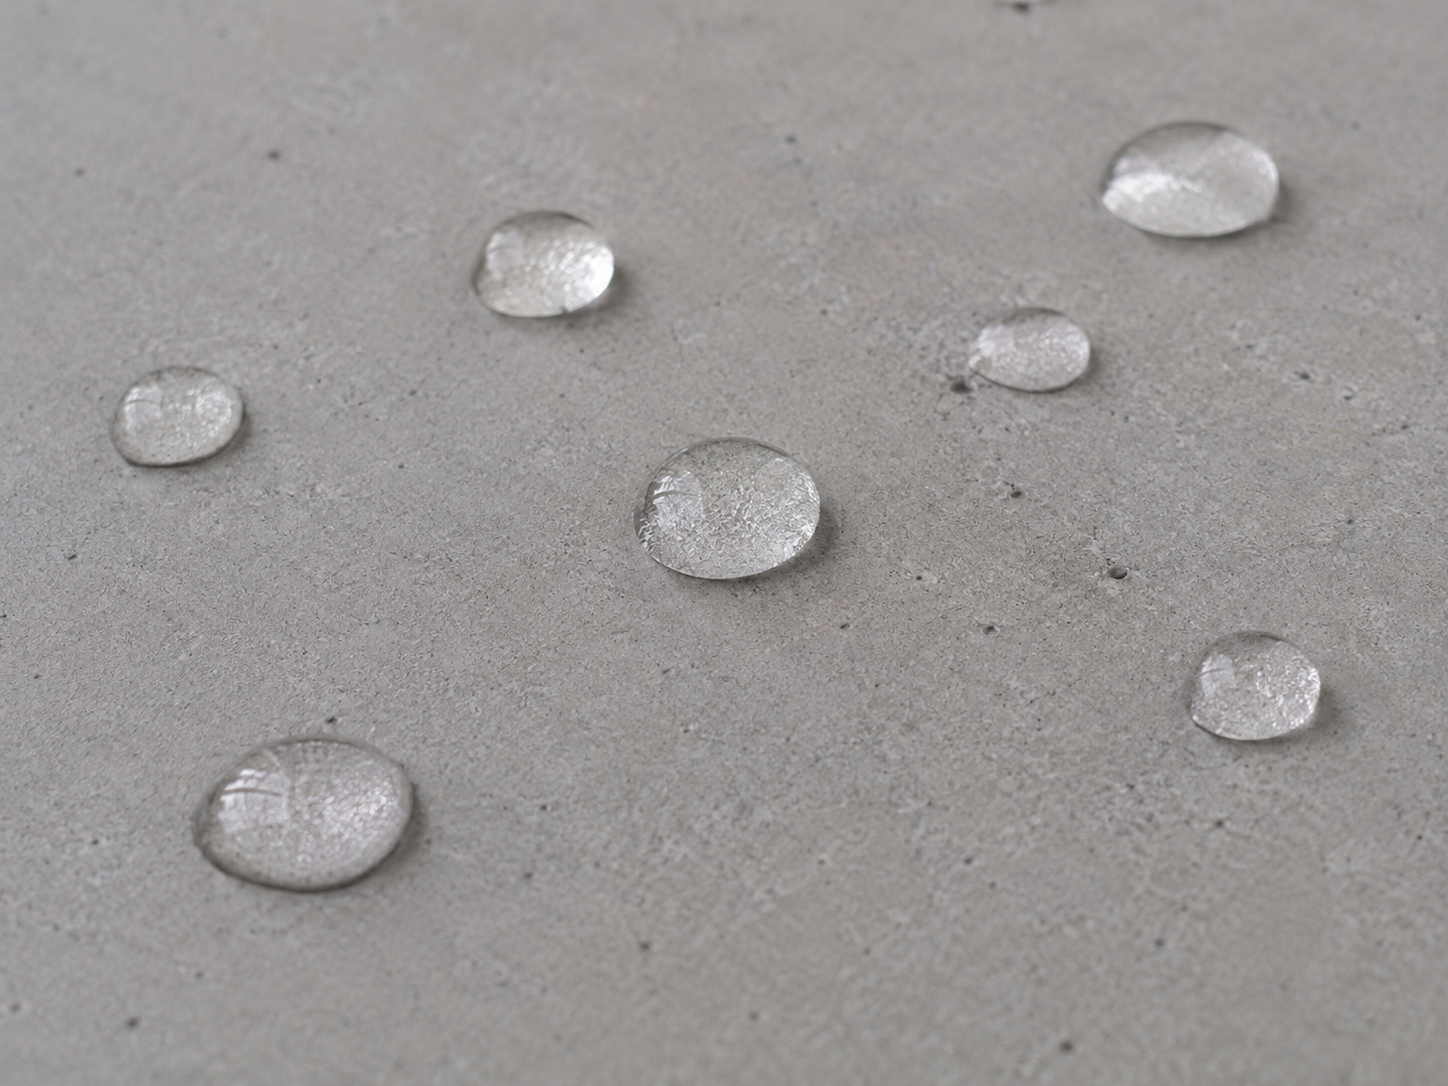
Water beads
30+ secondsThe surface does not absorb water quickly.
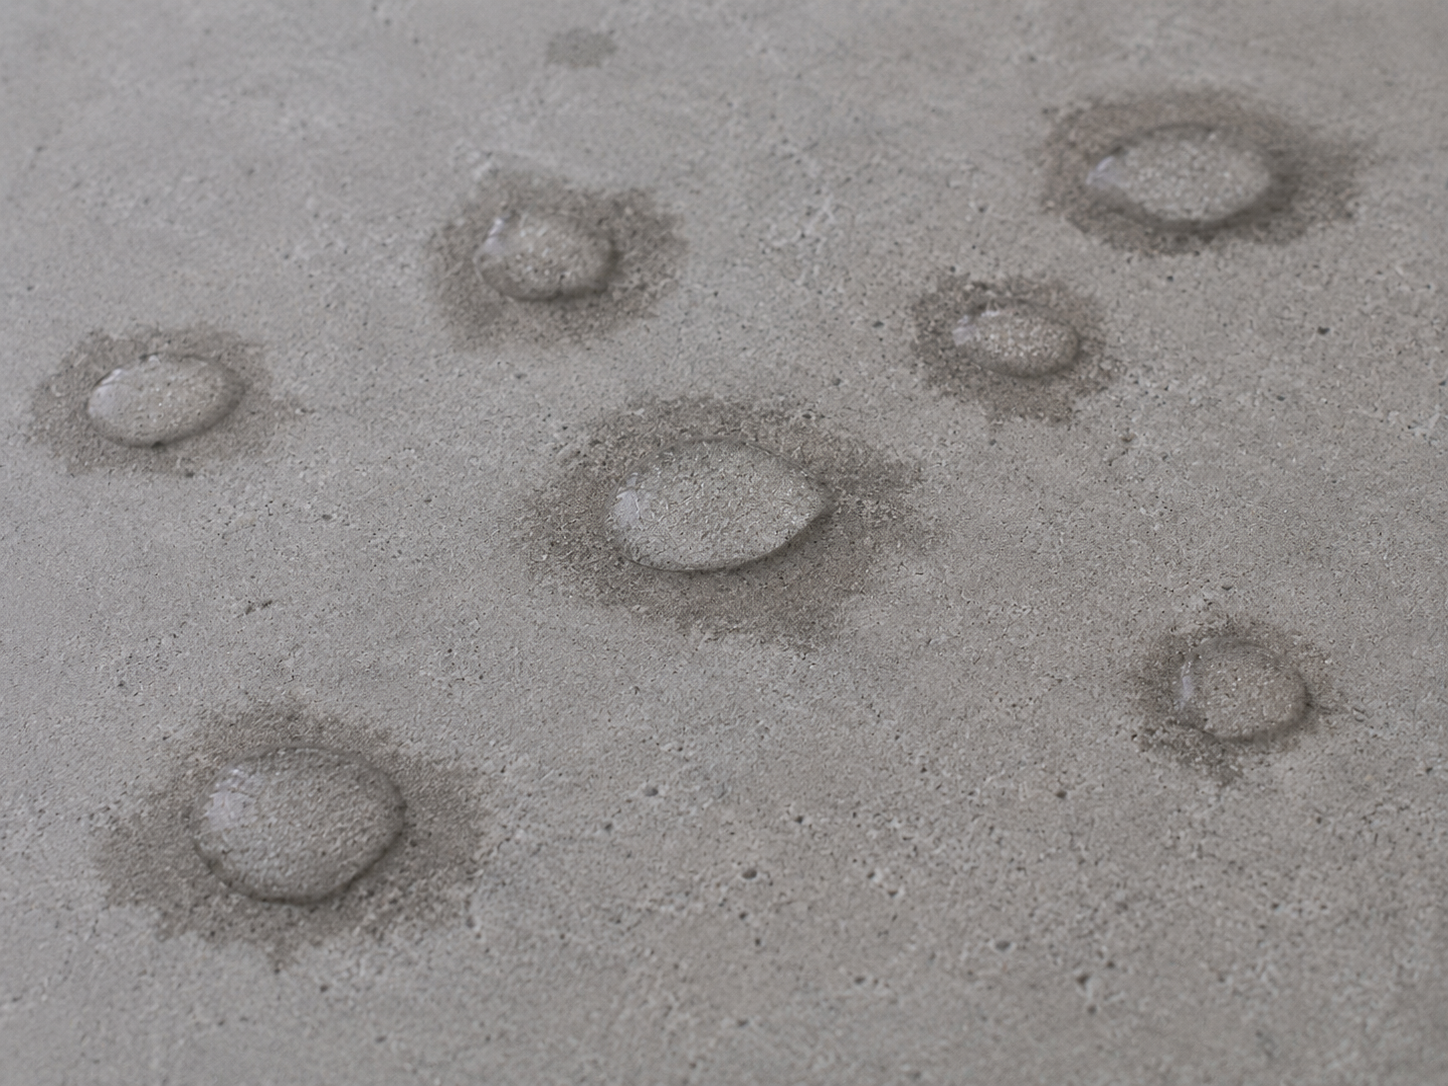
Water absorbs slowly
15–30 secondsThe slab has moderate absorption and may benefit from light honing.
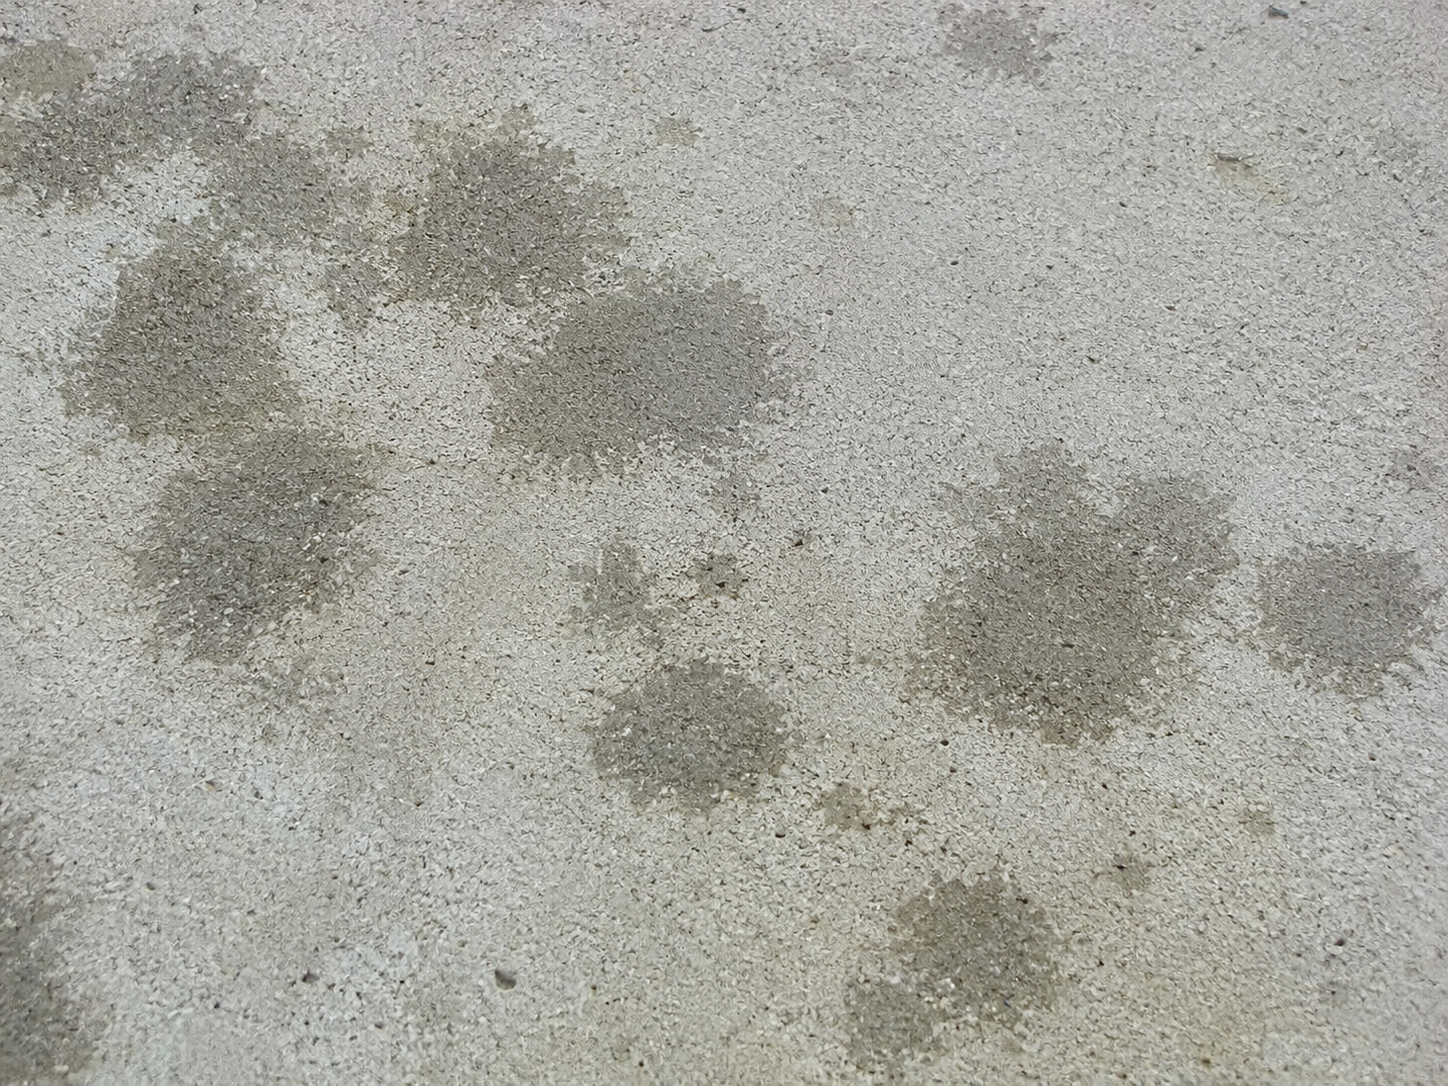
Water disappears
Under 15 secondsThe concrete is open and absorbs water quickly.
Match your water test to the correct preparation path.
These are not separate installation guides. They simply tell you how to prepare and dilute before continuing through Steps 4–7.
Clean & Seal
For tight concrete that does not require grinding or creation of a new surface profile.
Hone & Seal
A middle-ground approach for concrete that absorbs some water but remains relatively tight.
Grind & Seal
For open, porous concrete or surfaces ground beyond the tight top layer and into the aggregate.
Your System
What changes for this floor?
The Bond + The Shield
Every path ultimately uses the same system concept: create the bond with BallistiX Advanced, then finish the surface with Black Label. Your slab determines how the surface is prepared and how Advanced is diluted.
BallistiX Advanced
Creates the foundation of the system and prepares the concrete for the protective topcoat.
- Foundation of the system
- Dilution depends on slab porosity
- Applied with pump sprayer and microfiber mop
Black Label
Enhances appearance while adding the protective final layer of the system.
- Maximum protection layer
- Enhanced gloss and appearance
- Chemical and oil resistance
Prepare according to your path.
This is the first place where your selected path changes the installation. Find your path below and follow only that preparation.
Clean thoroughly.
Clean the surface thoroughly. Do not remove the tight top layer of the concrete if avoidable.
Lightly hone.
Lightly hone with a floor machine or fine diamond pad to open the surface slightly.
Grind and clean.
Grind to remove the top layer and expose aggregate, then clean the floor completely.
This is where slab porosity matters most.
Mix BallistiX Advanced by adding Part A into Part B, then use the dilution that matches the path you selected.
Tight Slab
Designed to help Advanced penetrate the tighter surface.
Semi-Porous Slab
Uses a stronger first coat followed by a diluted second coat.
Highly Porous Slab
Highly porous floors may need full-strength material to build a barrier or “false bottom.”
Second coat: Full Strength
Build the bond.
Once the floor is prepared and your dilution is correct, application becomes straightforward.
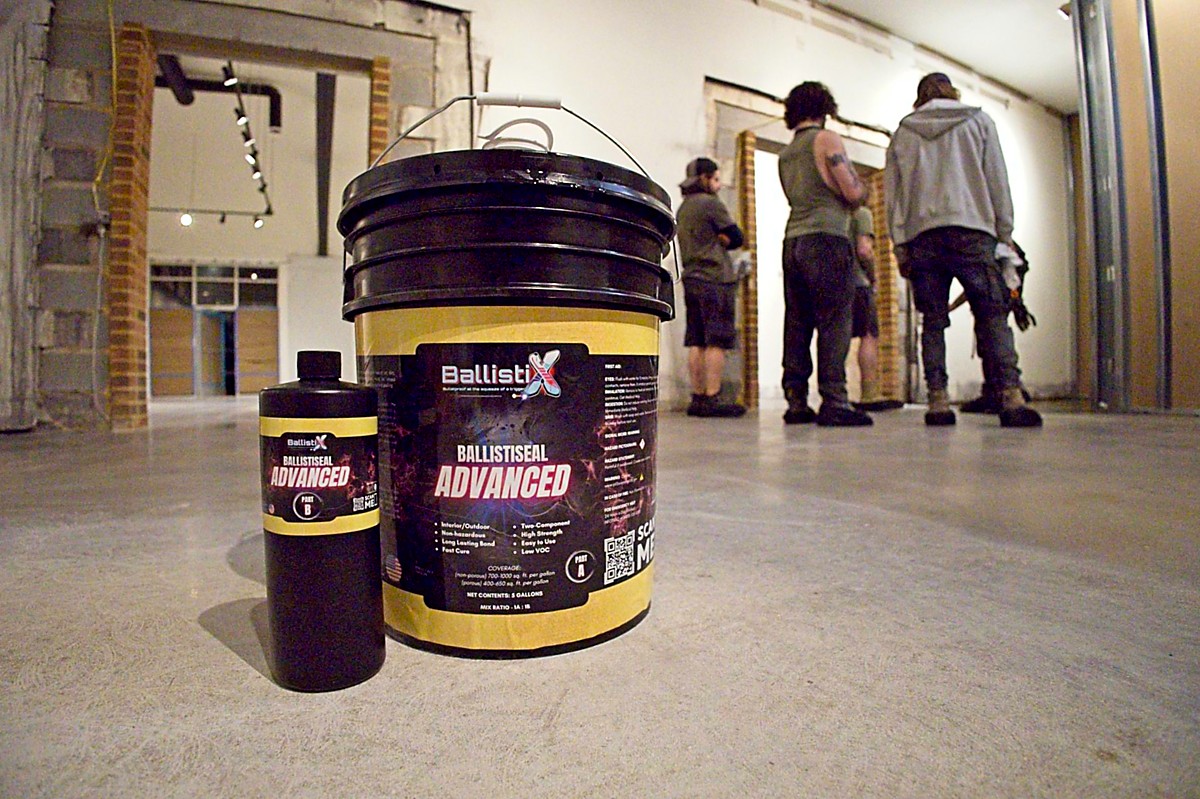
- Mix: Add Part A into Part B and prepare the mixture according to your selected path.
- Spray: Apply using a pump sprayer.
- Mop: Distribute the material evenly using a microfiber mop.
- Wait: Allow approximately 30–60 minutes between coats, or until the surface is dry enough to walk on.
- Repeat if required: Apply the second coat using the dilution specified in Step 5.
Finish with the shield.
After the Advanced bond layer has been completed, apply BallistiX Black Label as the final protective layer.
Protection + Appearance
Black Label enhances the finished appearance while providing the protective surface homeowners expect from the Conquer System.
Apply Black Label using a pump sprayer and mop to create the final protective finish.
- Enhanced appearance
- High-end gloss
- Chemical and oil resistance
- Final protective surface
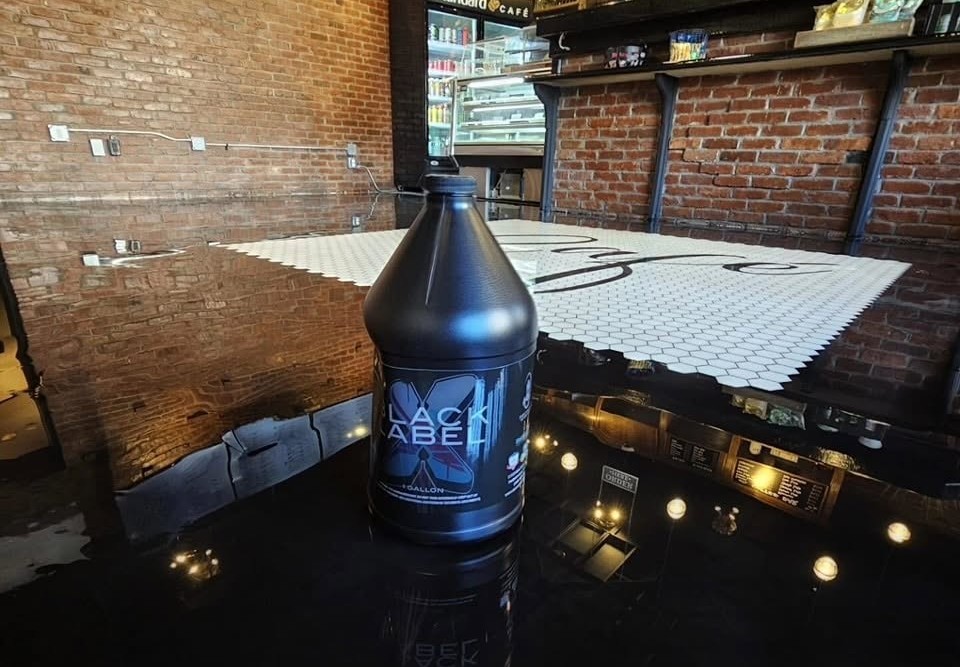
Conquer your concrete.
The finished result is a clean, glossy and protected concrete surface that delivers the polished appearance without the full complexity of traditional polished concrete.
Protection built for real floors.
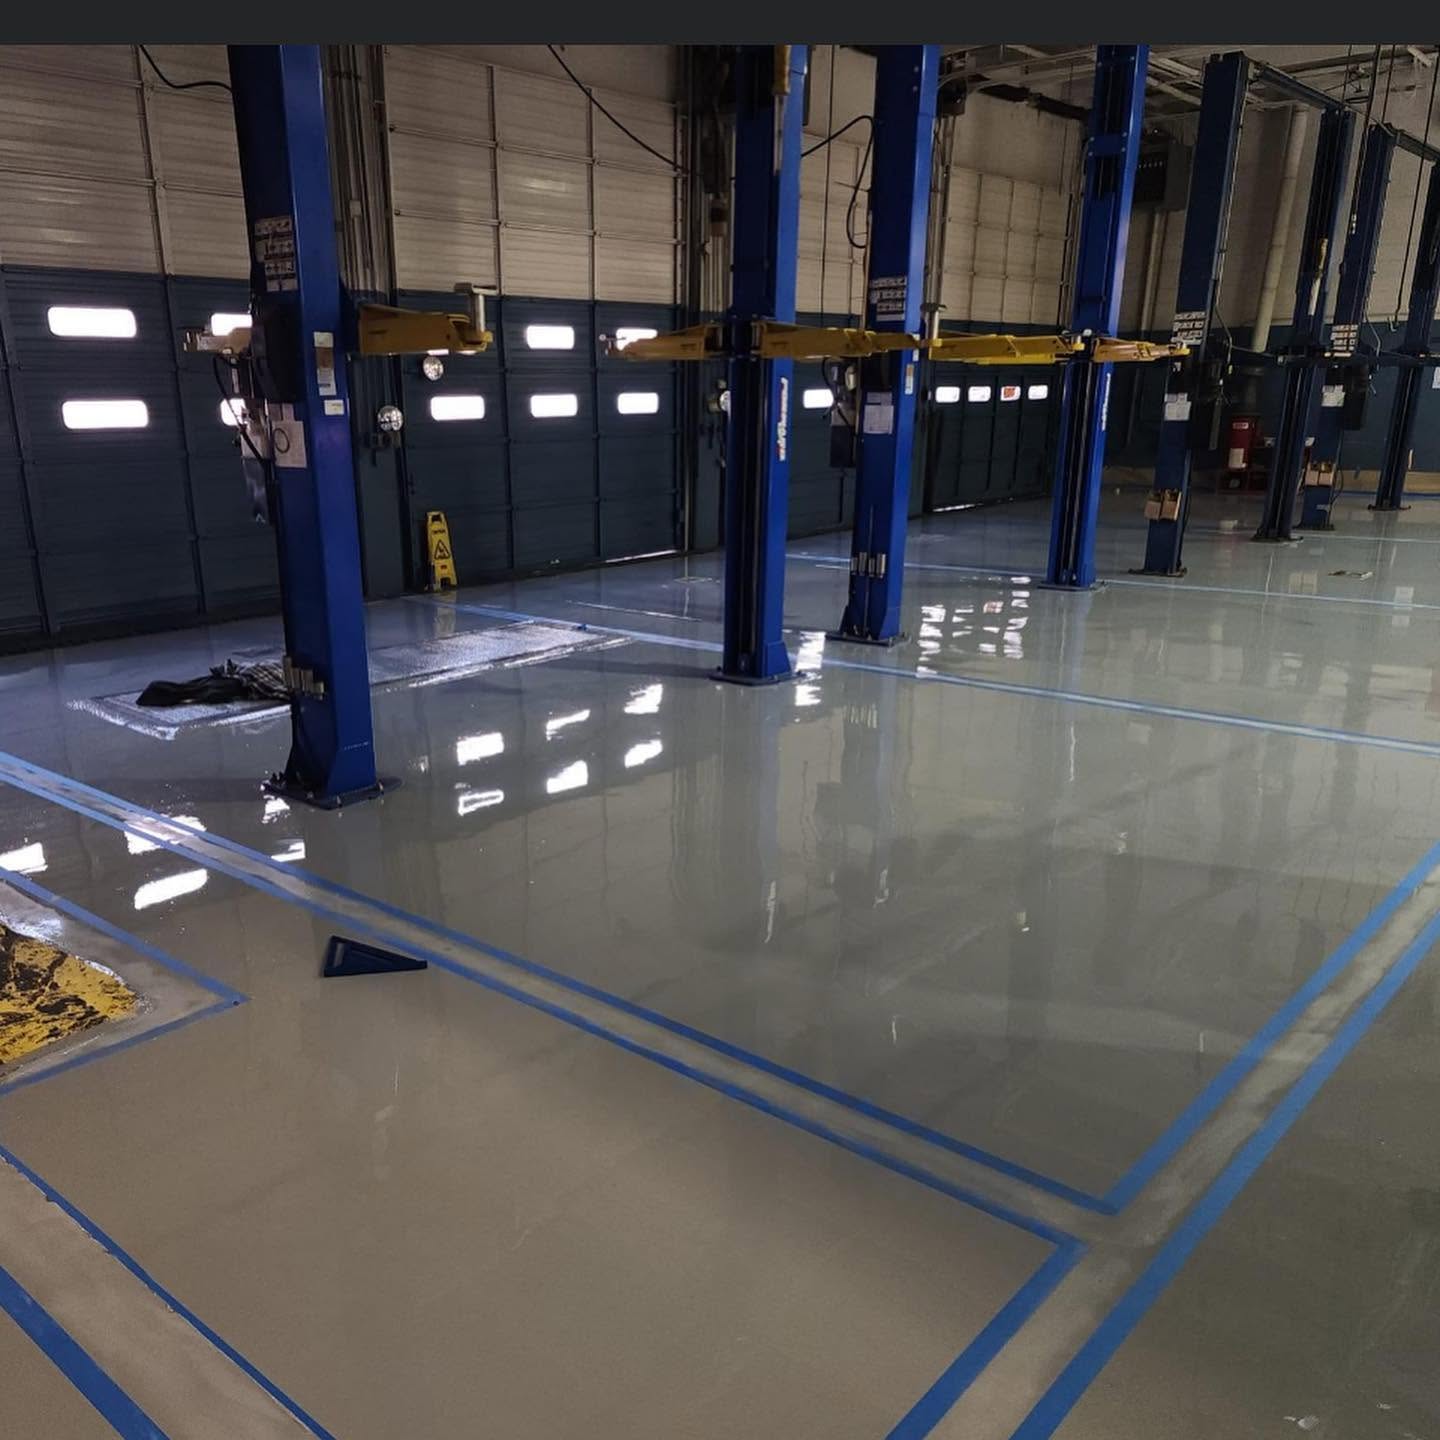
Maximum Protection
Helps protect against acids, chemicals, oils and everyday contaminants.
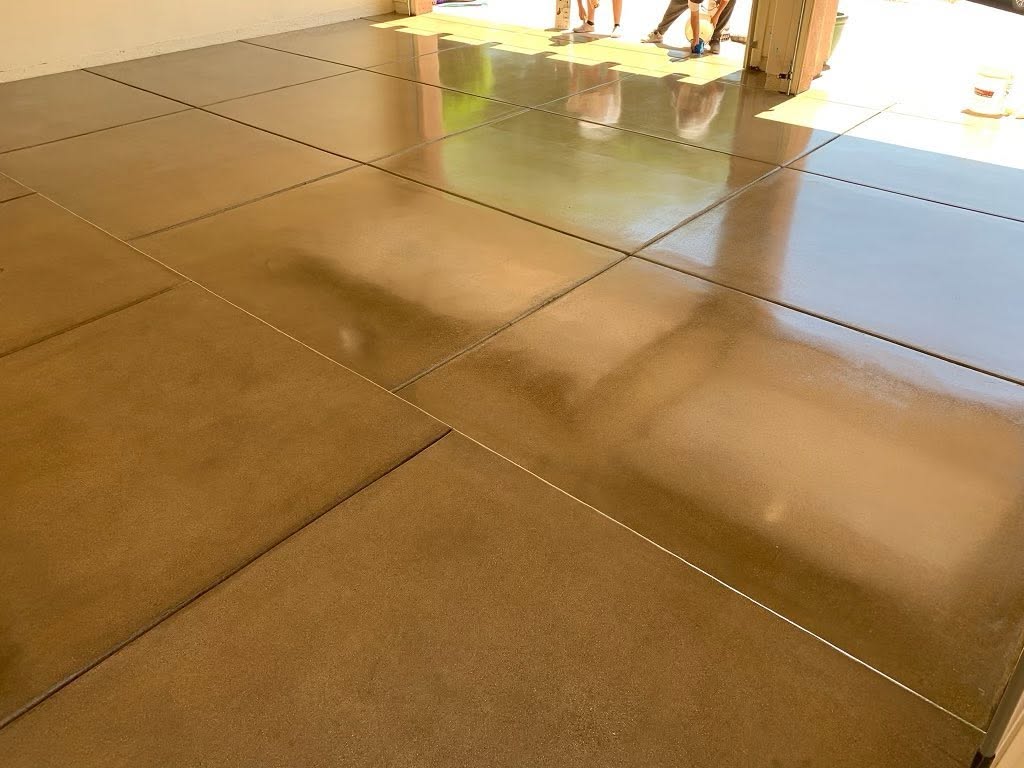
No Tire Marks
Zero plasticizer staining helps prevent hot-tire marks from vehicles.
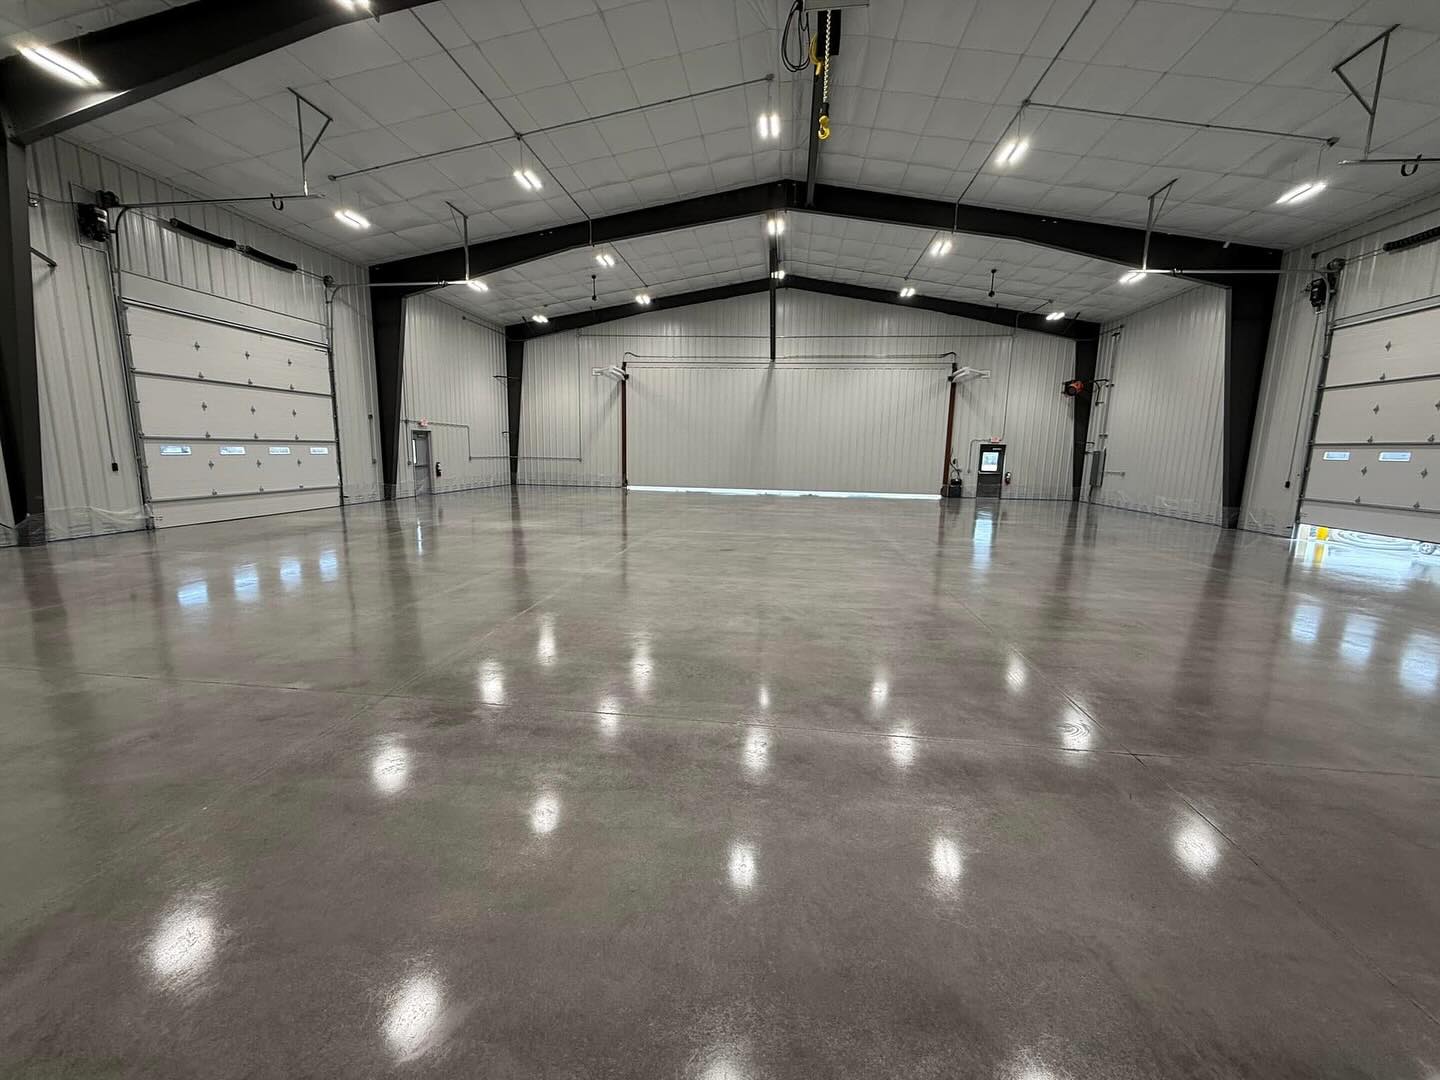
High-End Gloss
Delivers a mirror-style finish with no heavy texture.
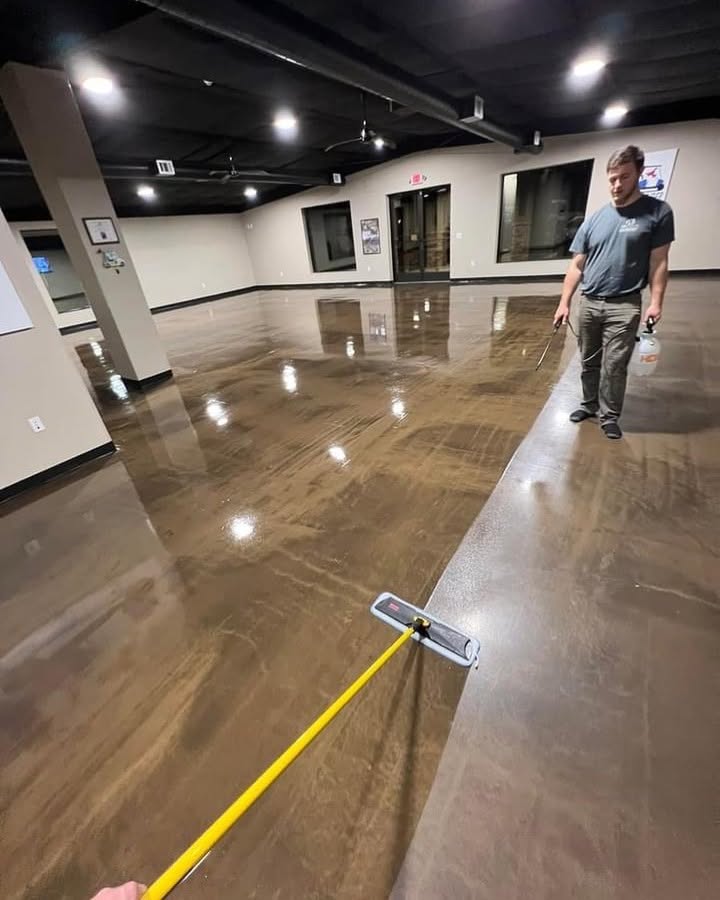
Anti-Slip Safety
Designed to support safety while keeping the clean polished appearance.
Not sure which path your floor needs?
Send us your square footage and your water-test result. We can help you determine whether your project should use Clean & Seal, Hone & Seal or Grind & Seal.
Promote BallistiX & Earn Commissions
Want to promote our systems and products? Call us directly.
540-760-1958Hablamos español.
BallistiX Project Estimator
Calculate your profit margins for flake upsells, or determine your custom prep and dilution logic for a polished concrete look.
1. Choose Your Path
Select your high-performance installation type
2. Select Concrete Porosity
Based on your Water Tensile Test dissipation time